Showerhead Installation means that you are ready to place a new, upgrade or replace the shower head on your bathroom. It acts as your sanctuary at times, your grooming station at others, or even your spa.
So, when it comes to your shower, you need the right shower head. We bring you simple steps of showerhead installation to make it happen without a lot of fuss and mess.
Luckily, it remains fairly easy, so almost anyone can do it. Also, if time permits, decorating your bathroom affordably and adding paint using your favorite colors seems a great idea.
Best Showerhead Installation Item and Methods

Primarily, choosing the right type and model of shower head goes first. It remains as the very first step for showerhead installation for new ones or replacements.
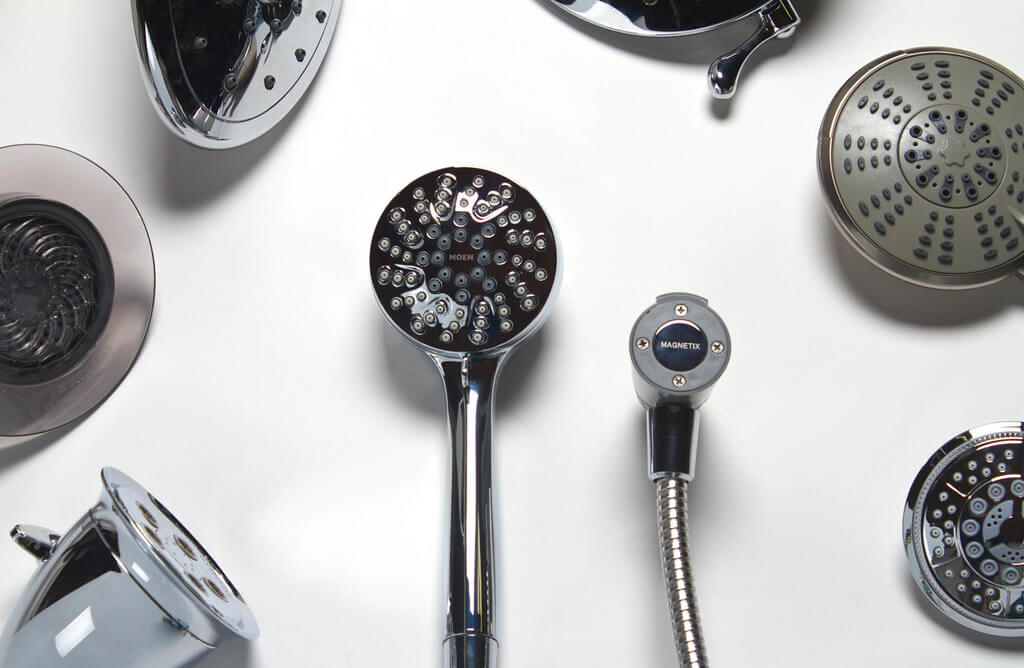
There are three basic shower head types:
- Wall-mounted, or fixed shower head
- Handheld showerhead
- Dual shower head
Each showerhead type has advantages. For example, the wall-mounted remains usually the cheapest and easiest method of shower head installation.
The handheld appears great for people who are a little older. Also, for kids or pets that need bathing assistance. Knowing what do during bathroom accidents helps a lot.
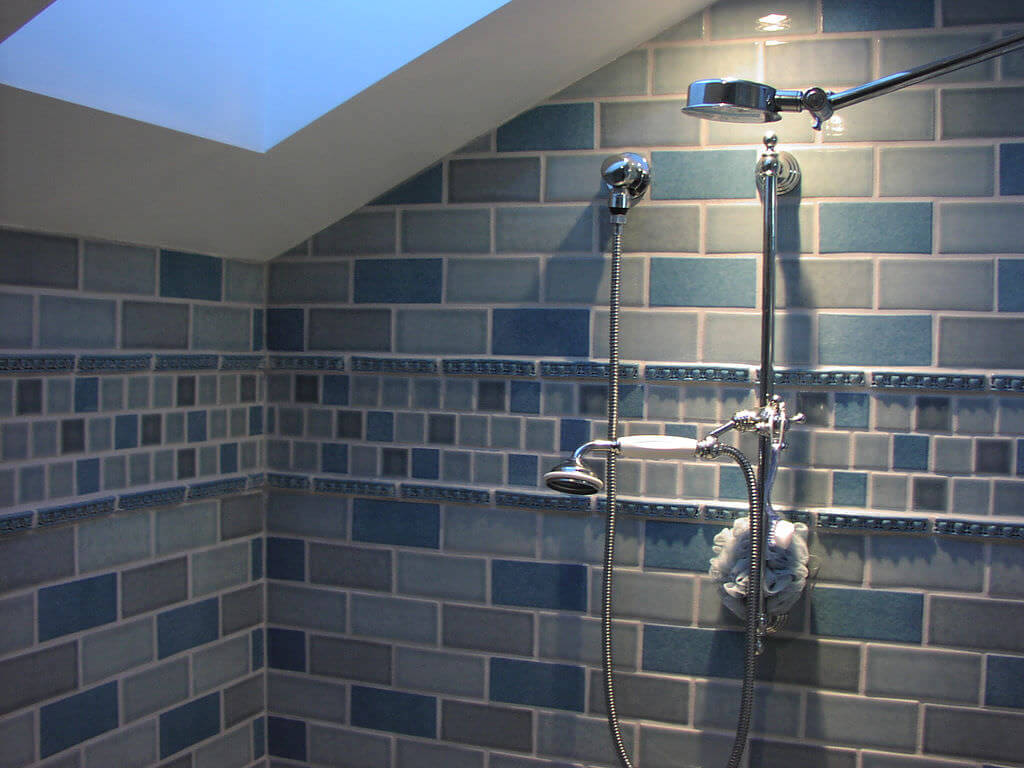
Dual shower heads are great for people who want all the benefits from the handheld and the wall mounted showerhead. Check our reviews and buying-guide for dual showerheads.
Try looking around the web for information on each type of head or get some information at the hardware store where you plan to buy the shower head.
Be sure to compare budgets on different brands and look for reviews on the quality from the brands you’re shopping.
Wall-Mounted Showerhead Installation
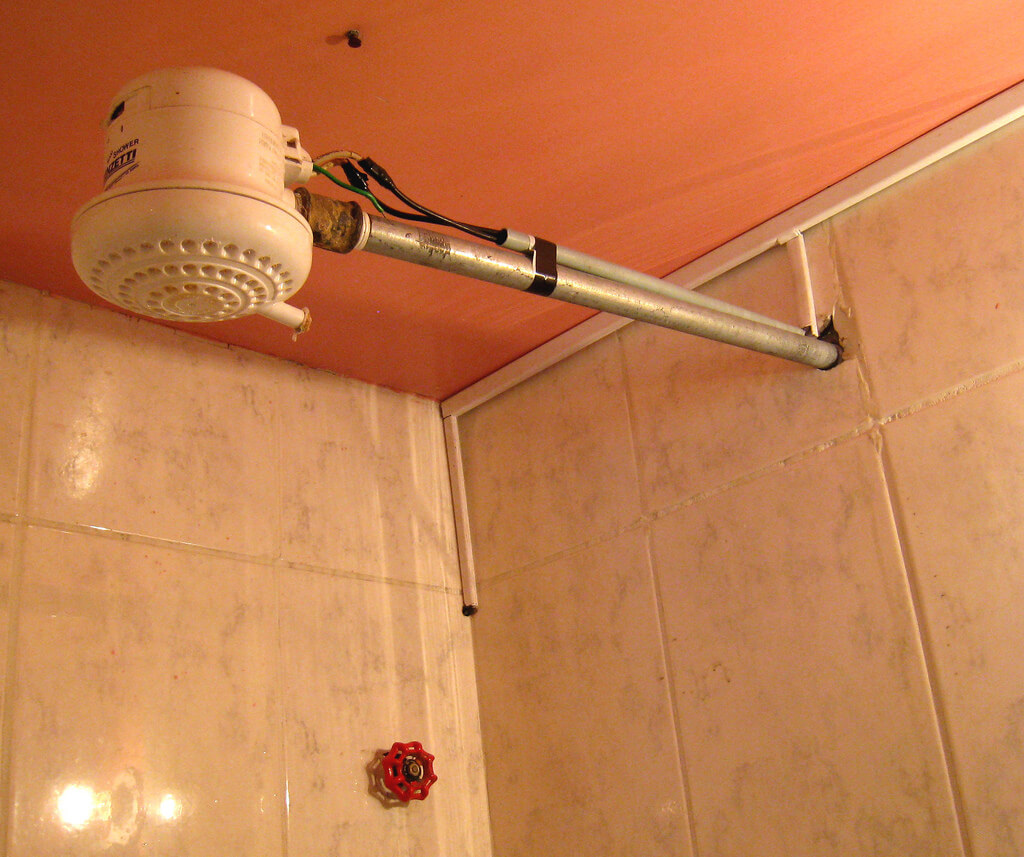
The standard showerhead is the wall-mounted, or fixed, shower head.
1. Choose the New Shower Head
You can go online to retailer sites, or go into a physical store to purchase your new shower head. If you aren’t already sure which item and showerhead installation method suit best your purposes, ask questions and read reviews.
2. Gather Supplies and Tools
Each type of shower head will require the same basic tools and supplies for installation.
- Teflon tape
- Showerhead
- The adapter kit (if required)
- Blanket, sheet, or tarp
- Adjustable wrench
- Masking tape
- Slip joint pliers
3. Prepare Your Work Area
Before you get started, you’ll need to do two major things: turn off the water and lay down a work cloth. Further, get an old sheet, towel, blanket, or tarp in the shower or tub.
4. Remove the Old Shower Head
Then, grab those pliers and wrap the grips with masking tape. This prevents the chrome on the shower head from being damaged while you remove it.
You’ll need to work the shower head off counter-clockwise. A handy way to remember which way to turn is, “righty tighty, lefty loosey.”
5. Clean the Pipe
Next, you’ve got to clean that pipe that comes out of the wall. Just use an old rag to clear the debris, and you should be good to go.
6. Apply the Tape
Now, take the Teflon tape and wrap it around the threads on the pipe. Wrap it several times, until the entire thread area is covered with at least a couple of layers.
7. Attach the New Shower Head
Now, screw on the new showerhead. Be sure to get it pretty tight.
8. Test the Shower Head and Make Adjustments
Turn on the water, and let the shower run for several minutes. If any leaks come up, you’ll need to make adjustments. The last time I installed a shower head, I had to make adjustments a couple of times. It happens, and it’s nothing to worry about.
Just remove the new head, re-apply the tape, or add more, if necessary, and re-attach the shower head. Try tightening the head a little more, to see if that stops the leaks.
The shower head must be tight enough, but too tight, or you may cause other problems.
Handheld Showerhead Installation
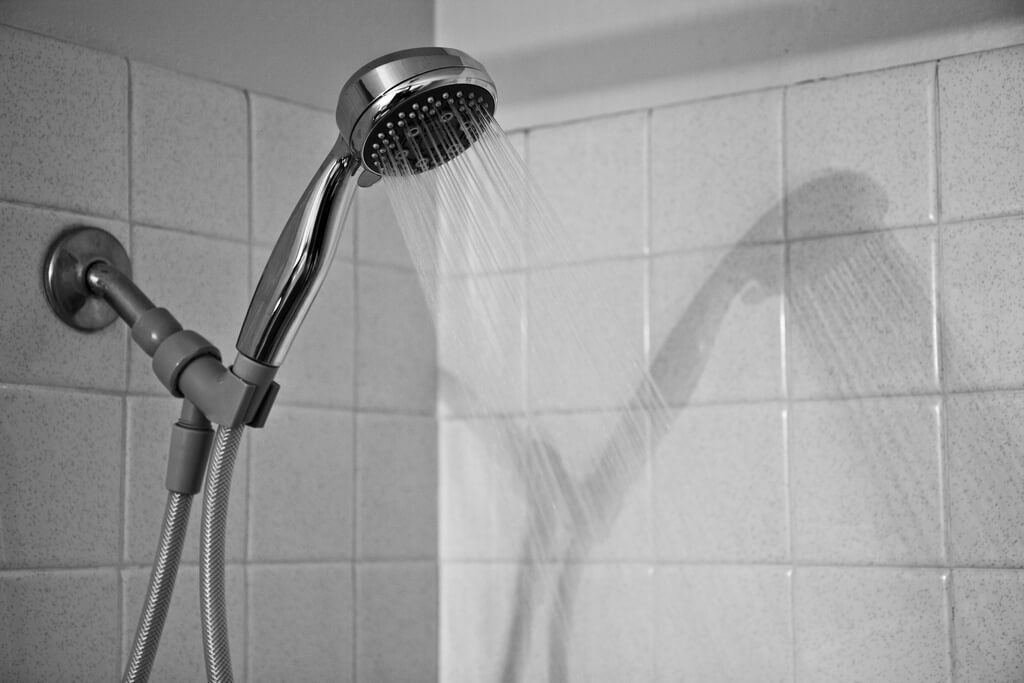
Surprisingly, the handheld head remains as one of the most convenient showerhead installation and shower head types. It works at a wall-mounted shower head.
But. this also allows you to pull down the head and get to harder to reach places. Now, go ahead and bathe your pets, or wash something out in the shower.
Additional Showerhead Installation Steps
Most of the steps are the same. Yet, we bring you a quick break down on the showerhead installation additional steps.
1. First, choose your shower head.
2. Second, gather your supplies.
3. Then, remove the old shower head.
4. Plus, add the mounting bracket. This will come with the shower head, along with any specific instructions.
5. Next, connect the hose – this also comes with the shower head. You do this by screwing it into the mounting bracket.
6. Screw in the wand by hand.
7. Also, check for any leaks.
8. Lastly, make adjustments as needed. Then go ahead and check our guide and review on the Best Handheld Shower Heads.
Showerhead Installation: Doing It On Your Own
Ultimately, the showerhead installation remains super easy and doesn’t require much in the way of plumbing skills. Complete newbies can do it.
Hence, just find the right shower head for your needs, and follow these basic instructions. You’ll have that new shower head on in no time.
No products found.
Featured Image: CC by 2.0, Your Best Digs, via Flickr
Last update on 2024-04-25 at 23:30 / Affiliate links / Images from Amazon Product Advertising API
Leave a Reply